Welcome! This guide unlocks the full potential of your Canon Rebel T5, offering detailed explanations of its features and functionalities for a rewarding photographic experience․
What’s in the Box?
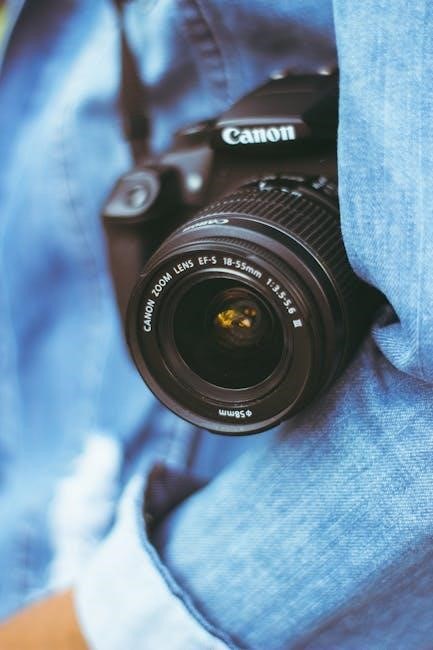
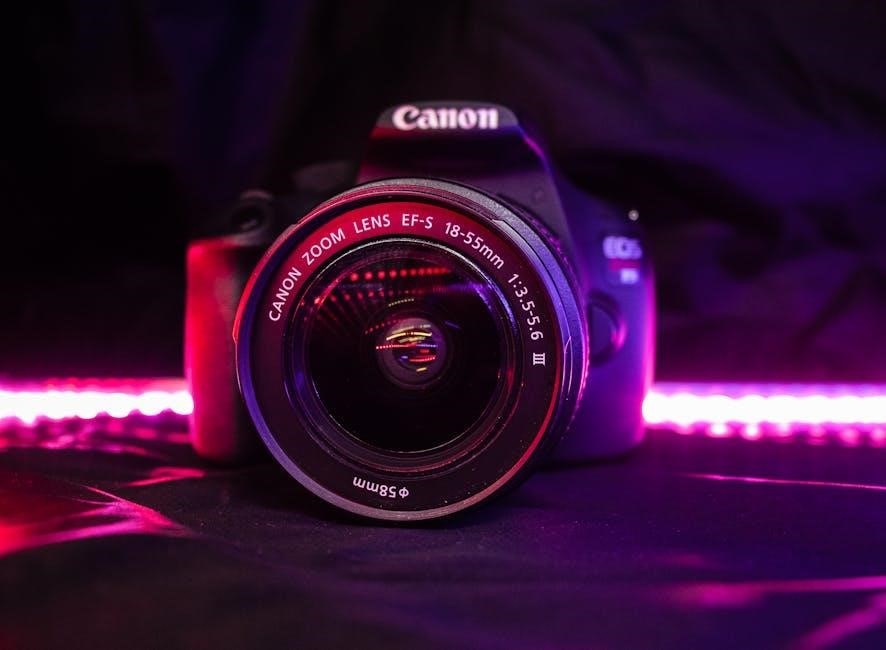
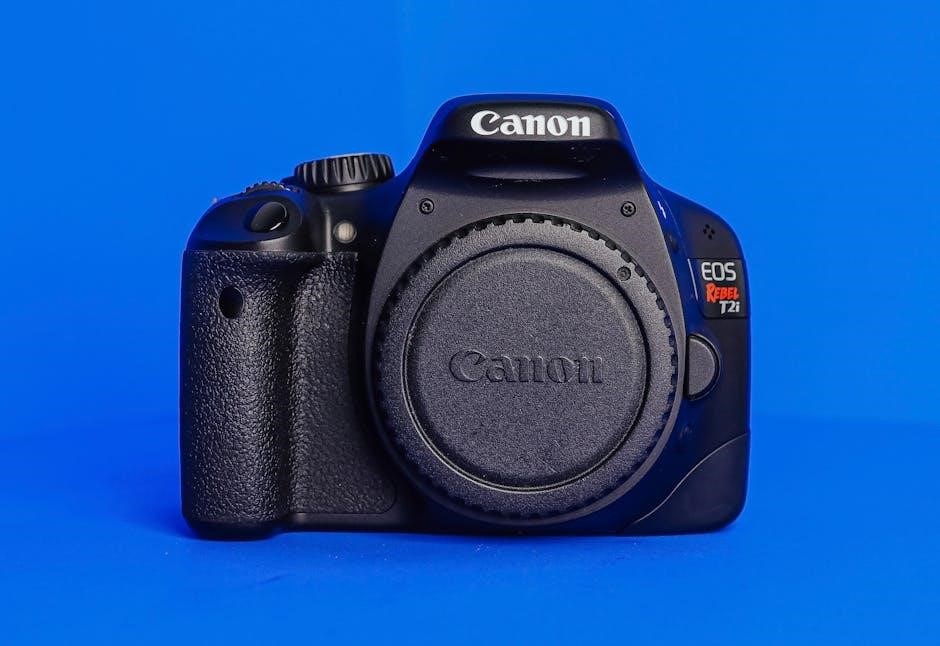
Upon opening your Canon Rebel T5 package, you should find several key components․ These include the Canon EOS Rebel T5 camera body itself, a pre-installed kit lens – typically an 18-55mm lens – and a battery pack (LP-E10)․ A battery charger (LC-E10) is also included, allowing you to power up your camera․
Furthermore, the box contains a carrying strap for comfortable transport, a USB interface cable for transferring photos to your computer, and an audio/video cable for connecting to a TV․ Crucially, you’ll also receive the instruction manual and warranty card, providing essential information and support details․ Verify all items are present for a complete setup․
Key Features and Specifications
The Canon Rebel T5 boasts a 12․2-megapixel CMOS sensor, delivering detailed images․ It captures Full HD 1080p video at 30fps, offering excellent video quality․ Its DIGIC 4 image processor ensures fast and efficient performance․ The camera features a 3․0-inch LCD screen for clear image review and composition․
ISO range extends from 100-6400 (expandable to 12800), enabling shooting in various lighting conditions․ It offers a 9-point autofocus system for accurate subject tracking․ Continuous shooting reaches 3 frames per second․ The Rebel T5 is compatible with Canon EF and EF-S lenses, expanding your creative options․ It supports SD, SDHC, and SDXC memory cards․
Getting Started

Begin your journey! This section guides you through the initial setup, including battery charging, memory card insertion, and powering on your Canon Rebel T5․
Charging the Battery
Initial Battery Charge: Before first use, it’s crucial to fully charge the Canon Rebel T5’s battery (LP-E10)․ Locate the DC coupler and connect it to a wall outlet using the provided power cable․ Insert the battery into the DC coupler, ensuring proper alignment․
Charging Indicator: The camera’s charging indicator light will illuminate, typically showing orange while charging and turning green when fully charged․ A full charge typically takes around 2-3 hours․
Important Notes: Only use the Canon-supplied battery charger to avoid damage․ Do not interrupt the charging process․ A fully charged battery provides ample power for numerous shots and video recordings, allowing for extended shooting sessions;
Inserting and Formatting Memory Cards
Card Compatibility: The Canon Rebel T5 supports SD, SDHC, and SDXC memory cards․ Locate the memory card slot, typically on the side of the camera․ Gently insert the card until it clicks into place – do not force it․ To remove, press the card inward to release it․
Formatting is Key: Before first use, and periodically thereafter, format the memory card within the camera via the menu system․ This ensures optimal compatibility and performance․ Formatting erases all data, so back up important files beforehand․
Formatting Steps: Navigate to the menu, select ‘Format’, and confirm your choice․ This prepares the card specifically for your Rebel T5, preventing potential errors during shooting and video recording․
Powering On and Initial Setup
Initial Power-Up: Locate the power switch, usually surrounding the shutter button․ Slide it to the ‘ON’ position․ The camera will initialize, displaying the Canon logo and date/time settings if previously set․ If it’s the first time powering on, you’ll be prompted for initial setup․
Date, Time & Language: Use the directional buttons to set the correct date, time, and preferred language․ Accurate date/time stamping is crucial for organizing your photos․ Confirm each setting by pressing the ‘SET’ button․
Shooting Mode Selection: The camera will then ask you to choose a shooting mode․ For beginners, ‘Auto’ (GREEN mode) is recommended․ Explore other modes later as you gain confidence․
Understanding the Camera Interface
Navigating Controls: Familiarize yourself with the mode dial, buttons, and LCD screen to efficiently control settings and capture stunning images with ease․
The Mode Dial Explained

Understanding Your Options: The Mode Dial is your primary control for selecting shooting modes on the Canon Rebel T5․ Each setting offers a different level of creative control․ The Auto (GREEN) mode simplifies photography, letting the camera handle all settings․ Program (P) mode allows for some adjustments while maintaining automatic exposure․
Creative Control: For more control, explore Aperture Priority (Av) – you set the aperture, and the camera adjusts shutter speed․ Shutter Priority (Tv) lets you control shutter speed, with the camera managing aperture․ Manual (M) mode grants full control over both aperture and shutter speed․ Other settings include scene modes like portrait, landscape, and sports, optimized for specific situations․ Finally, the Movie mode initiates video recording․
Navigating the Menu System
Accessing Settings: The Canon Rebel T5’s menu system is accessed via the MENU button․ It’s organized into several tabs, each representing a category of settings – Shooting, Creative, Playback, Setup, and more․ Use the directional buttons on the rear of the camera to navigate through these tabs and options․
Customization Options: Within each tab, you’ll find a wealth of customizable settings․ These include image quality, autofocus behavior, white balance, picture styles, and various camera functions․ The SET button confirms your selections․ Familiarize yourself with the menu structure to efficiently adjust settings and tailor the camera to your shooting preferences․ Don’t be afraid to explore!
Understanding the LCD Screen
Displaying Information: The 3․0-inch LCD screen on the Canon Rebel T5 serves as your primary viewfinder and information display․ During live view and playback, it shows a preview of your image, along with crucial shooting data like aperture, shutter speed, ISO, and battery level․
Quick Control Screen: Press the Q button to access the Quick Control screen, offering direct access to frequently used settings․ This allows for rapid adjustments without diving into the full menu system․ The LCD also displays histograms for accurate exposure assessment․ Brightness can be adjusted via the menu for optimal viewing in various lighting conditions․
Shooting Modes
Explore Creativity: The Rebel T5 offers diverse shooting modes, from fully automatic simplicity to complete manual control, empowering your photographic vision․
Auto Mode (GREEN Mode)
Effortless Photography: Canon’s GREEN AUTO mode is designed for ultimate simplicity, making it perfect for beginners or quick snapshots․ The camera intelligently analyzes the scene, automatically selecting the optimal settings for exposure, white balance, and picture style․
This mode minimizes the need for manual adjustments, allowing you to focus solely on composition and capturing the moment․ While offering convenience, remember that GREEN AUTO provides limited creative control․ It’s ideal for everyday photos where speed and ease of use are paramount․ The camera handles everything, ensuring a well-exposed image in most common shooting situations, freeing you from technical complexities․
Program Mode (P)
Semi-Automatic Control: Program Mode (P) offers a balance between automatic operation and creative control․ The camera sets both aperture and shutter speed for optimal exposure, but allows you to adjust other settings like ISO, white balance, and picture style․
This mode is excellent for situations where you want some influence over the final image without the complexity of fully manual settings․ You can utilize exposure compensation to fine-tune brightness․ Program Mode is a step up from fully automatic modes, providing a pathway to understanding the relationship between aperture and shutter speed without overwhelming the user with complete manual control․
Aperture Priority Mode (Av)
Controlling Depth of Field: Aperture Priority (Av) mode lets you, the photographer, select the aperture (f-stop), while the camera automatically determines the appropriate shutter speed for correct exposure․ This is ideal for controlling depth of field – how much of your image is in focus․
A wider aperture (lower f-number like f/2․8) creates a shallow depth of field, blurring the background for portraits․ A narrower aperture (higher f-number like f/16) increases depth of field, keeping more of the scene sharp, perfect for landscapes․ Remember to monitor the shutter speed to avoid motion blur, especially in low light․
Shutter Priority Mode (Tv)
Freezing or Blurring Motion: In Shutter Priority (Tv) mode, you set the shutter speed, and the camera automatically adjusts the aperture to achieve proper exposure․ This mode is crucial for controlling how motion is captured in your photographs․
Fast shutter speeds (like 1/1000s) freeze action, ideal for sports or wildlife photography․ Slower shutter speeds (like 1/30s or longer) create motion blur, conveying a sense of movement, useful for waterfalls or light trails․ Be mindful of the aperture value the camera selects; a wider aperture might be needed in low light, potentially affecting depth of field․
Manual Mode (M)
Complete Creative Control: Manual (M) mode grants you full control over both aperture and shutter speed, allowing for precise exposure settings․ This mode is ideal for challenging lighting situations or when you want to achieve a specific creative effect․
You’ll need to understand the relationship between aperture, shutter speed, and ISO to use Manual mode effectively․ Use the camera’s light meter as a guide, adjusting settings until the meter indicates proper exposure․ While demanding, Manual mode unlocks your full photographic potential, offering unparalleled artistic freedom and consistent results․

Focusing and Exposure
Mastering Sharpness & Brightness: Learn to control focus modes, exposure compensation, and metering for perfectly exposed, crisp images every time you press the shutter․
Autofocus Modes and Selection
Choosing the Right Focus: The Canon Rebel T5 offers several autofocus (AF) modes to suit various shooting scenarios․ One-Shot AF is ideal for stationary subjects, locking focus when you half-press the shutter button․ AI Servo AF continuously tracks moving subjects, adjusting focus as they change position – perfect for sports or wildlife․
AF Point Selection: You can select a single AF point, allowing precise focus control, or utilize automatic AF point selection, letting the camera choose․ Experiment with different AF point configurations to optimize focus for your composition․ Understanding these modes and how to select appropriate AF points is crucial for capturing sharp, in-focus images consistently․ Remember to review your images to confirm accurate focusing․
Understanding Exposure Compensation
Fine-Tuning Brightness: Exposure compensation allows you to override the camera’s automatic exposure settings, brightening or darkening images as needed․ This is particularly useful in challenging lighting situations where the camera might be fooled․ The Rebel T5’s exposure compensation scale is typically marked in stops (+/- EV)․
When to Use It: If your photos are consistently too dark, increase the exposure compensation (positive values)․ Conversely, if they’re too bright, decrease it (negative values)․ Small adjustments – like +1/3 or -1/3 EV – can make a significant difference․ Practice using exposure compensation to achieve the desired brightness and maintain detail in both highlights and shadows․
Metering Modes Explained
How Your Camera Reads Light: The Canon Rebel T5 offers several metering modes that determine how the camera evaluates the light in a scene․ Evaluative metering (the default) analyzes the entire scene for balanced exposure․ Partial metering focuses on a smaller area, around 6․5% of the frame, useful for backlit subjects․
Spot Metering for Precision: Spot metering measures light from a very small area (approximately 2․8% of the frame), providing the most precise reading for challenging situations․ Center-weighted average metering prioritizes the center of the frame while still considering the entire scene․ Choosing the right mode ensures accurate exposure based on your subject and lighting conditions․
Basic Photography Techniques
Mastering Your Shots: Explore fundamental composition guidelines, effective flash usage, and the exciting world of video recording with your Canon Rebel T5․
Composition Guidelines
Framing Your Vision: Composition is key to captivating photography․ The Rule of Thirds, a cornerstone technique, involves dividing your image into nine equal parts with two horizontal and two vertical lines․ Placing key elements along these lines, or at their intersections, creates balanced and visually appealing photographs․
Leading lines draw the viewer’s eye into the scene, adding depth and interest․ Consider using natural lines like roads, fences, or rivers․ Symmetry and patterns can also create striking images, while negative space provides breathing room and emphasizes your subject․
Experiment with different angles – shooting from low or high perspectives can dramatically alter the impact of your photos․ Don’t be afraid to break the rules once you understand them, and always prioritize what looks best to your eye!
Using Flash Effectively
Illuminating Your Shots: The Rebel T5’s built-in flash is a versatile tool, but understanding its nuances is crucial․ Avoid direct, harsh flash by bouncing it off ceilings or walls for softer, more natural lighting․ Utilize flash compensation to fine-tune the flash intensity – positive values increase brightness, while negative values decrease it․
Red-eye reduction minimizes the unwanted red glow in subjects’ eyes․ Explore different flash modes, such as auto flash, fill flash (to brighten shadows), and manual flash for complete control․ Remember that flash consumes battery power, so carry spares for extended shooting sessions․
Experiment with slow sync flash to combine ambient light with flash for creative effects, especially in low-light situations․
Shooting Video with the Rebel T5
Capturing Motion: The Canon Rebel T5 records Full HD 1080p video at various frame rates (30, 25, and 24 fps), offering flexibility for different projects․ Select the Movie mode on the mode dial to access video settings․ Ensure a compatible SD card with sufficient storage and write speed for smooth recording․
Pay attention to audio – the built-in microphone is adequate for basic use, but an external microphone significantly improves sound quality․ Utilize manual exposure control for consistent video brightness, and practice smooth panning and zooming techniques․
Remember to consider lighting and focus during video recording for professional-looking results․
Maintenance and Troubleshooting
Keep Shooting! Proper care and understanding common issues will ensure your Canon Rebel T5 remains reliable and delivers stunning images for years to come․
Cleaning the Sensor
Dust is inevitable! Over time, dust can accumulate on your Rebel T5’s image sensor, appearing as spots in your photos․ Canon recommends using a blower to gently remove loose particles first․
If blowing doesn’t suffice, consider a sensor cleaning kit specifically designed for Canon DSLRs․ Always follow the kit’s instructions carefully․ Improper cleaning can damage the sensor․
Avoid touching the sensor directly․ If you’re uncomfortable performing sensor cleaning yourself, Canon offers professional cleaning services․ Regular cleaning, even just blowing, helps maintain optimal image quality and prevents permanent blemishes on your photographs․ Remember to fully charge the battery before initiating any cleaning process․
Common Error Messages and Solutions
Err 90 often indicates a mechanical issue with the shutter, requiring professional service․ Err 01 suggests a card error – try reformatting or a different card․ Err 70 typically means the camera cannot communicate with the lens; check the connections and restart․
If you encounter an Insufficient Memory message, clear space on your card or use a higher capacity one․ A Low Battery warning necessitates immediate charging․ Regularly check Canon’s support website for the latest troubleshooting guides and firmware updates․
Restarting the camera often resolves minor glitches․ If problems persist, consult the full Canon manual or contact Canon support for assistance․ Avoid attempting complex repairs yourself․